
If you’re wanting to make a simple valentines gift that can used and displayed every day of the year, this painted stained glass hearts DIY is a great pick. What’s even better – if you are new to painting stained glass, this is a great introduction using a simple and affordable glass paint.
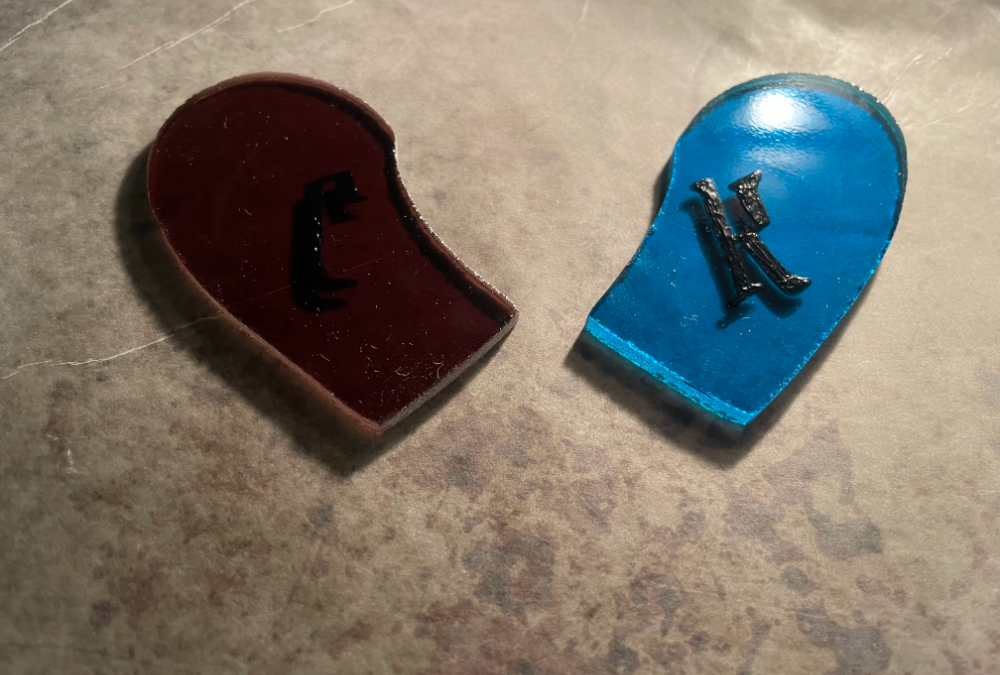
A few months back I tried out a new stained glass firefly piece and didn’t like how it came out, but my stepmother saw it and loved it. It wasn’t complete but she wanted it, so I connected a chain to it and she hung it over her rear view mirror in her car. It wasn’t the best piece for this purpose as it was bulky and swung a lot while she drove. Not to mention the chain made so much noise – I don’t know how she could stand it. So I decided to make her a new piece for her rearview mirror and thought these two hearts with her and my dads initials would be perfect.
This heart design is simple, light-weight, and just the right size for this placement. So without further ado let’s get into how to create this piece 🙂
This page may include affiliate links. If you click and purchase, I may receive a small commission at no extra cost to you. As an Amazon Affiliate I earn from qualifying purchases. You can read my full disclosure here. Thank you for your support <3
Supplies You’ll Need
This is a simple project, but does require some things you may not already have. If you want to paint any initials onto the glass you’ll need glass paint that won’t wash off or get scuffed. In addition to the stained glass pattern and your typical stained glass supplies, below are some things you’ll need for this project.
Vitrail160 Glass Paint
I’m still new to painting on glass, so I wanted something that was simple and easy to use. After a bit of research I decided on this Vitrail 160 glass paint and am pleased with this way it lays down and cures to the glass.
If you’re not interested in getting the full set, you can save money by getting just the black paint.
Small Paint Brush
Depending on what you buy, you may get a small paint brush when you order your paint. If you don’t you can use any small paint brush. Just be sure that the tip is nice and neat because if it’s frayed it will be difficult to paint precisely.
Hobby Came
If you’re not already using hobby came, you’ll need it for this DIY. The simplicity of this design is great for this project, but too simple to work without the reinforcement of hobby came. Without came, the two bigger pieces of the hearts could easily just break away as there is only a simple, slightly curved break line holding each of them.
Durable But Soft String
As I mentioned above, when my stepmom hung her piece using a chain it made a ton of noise while swinging back and forth as she drove. I also made a rearview mirror dangle for my husband and used hemp string that broke after only about a week or two.
With that in mind you want something that is durable enough to withstand the rubbing and swaying, but also something that won’t make noise. For this piece I used a leather string, but you could also try an elastic string, or waxed cord.
Painting Your Letters
In this DIY tutorial I won’t be covering the basics of cutting glass, grinding, foiling, etc. If you’re interested in seeing those steps please see this article that covers the step-by-step process of creating stained glass in detail and with additional links. Today I’m going to simply cover the process of painting the letters onto your hearts.
By the time you’ve cut and ground your glass pieces down to size, you are ready to start painting.
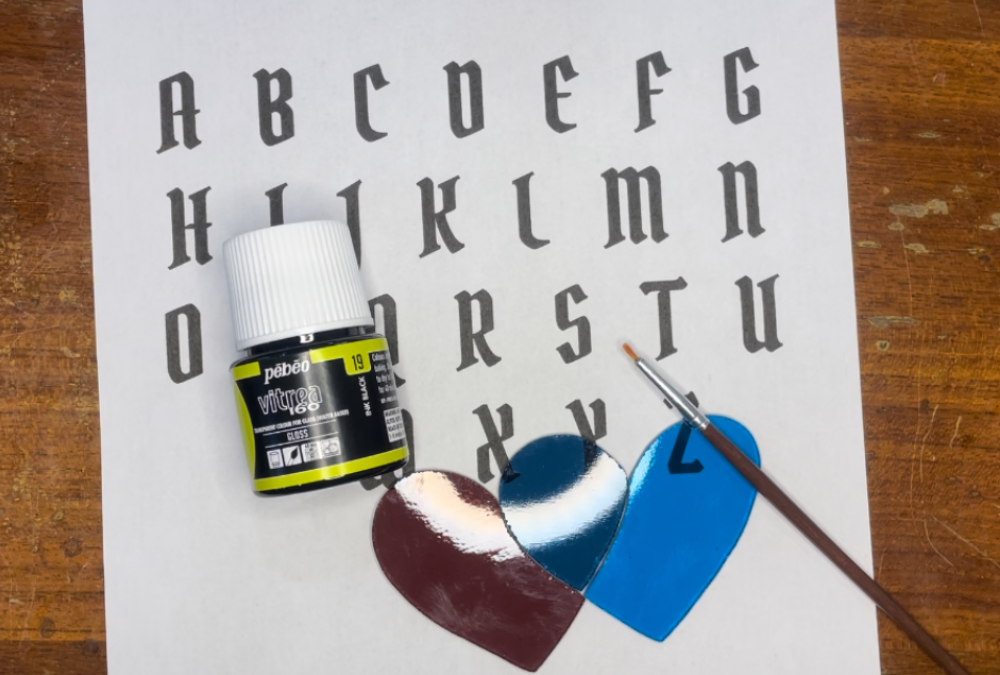
Step One: Shake Paint
Be sure to shake your paint bottle well before using. You can also see the packaging for all instructions such as these.
Step Two: Line Up Glass
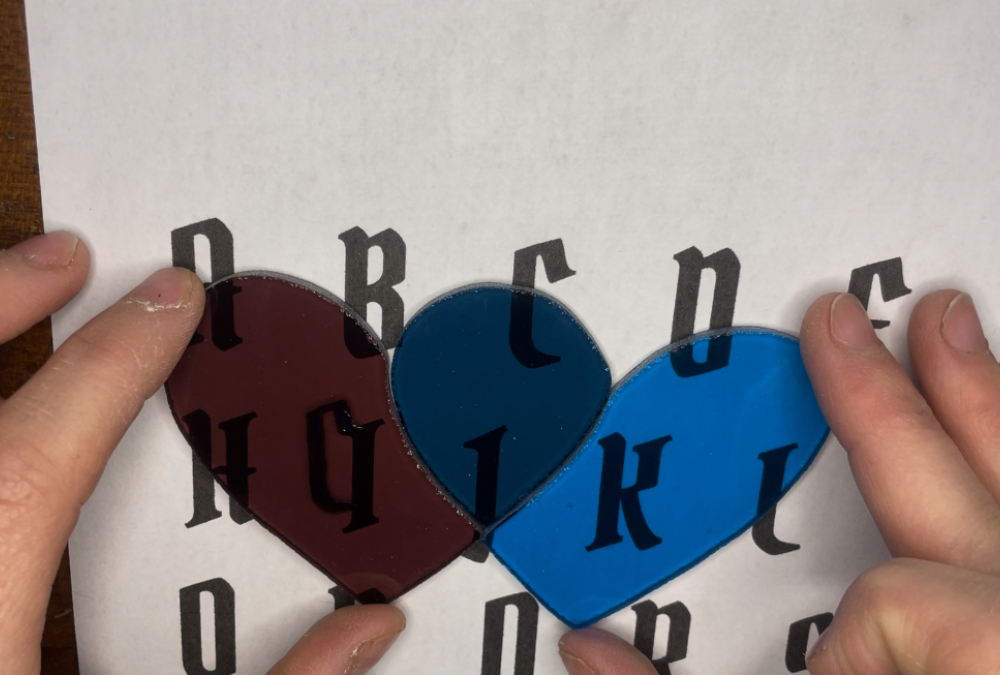
Before you begin painting, you should line up your glass pieces over the letter templates just to make sure everything is straight and where you want it. Painting glass in this way takes time, and you don’t want to waste it by painting your letters all wonky 😉
Step Three: Paint Your Glass
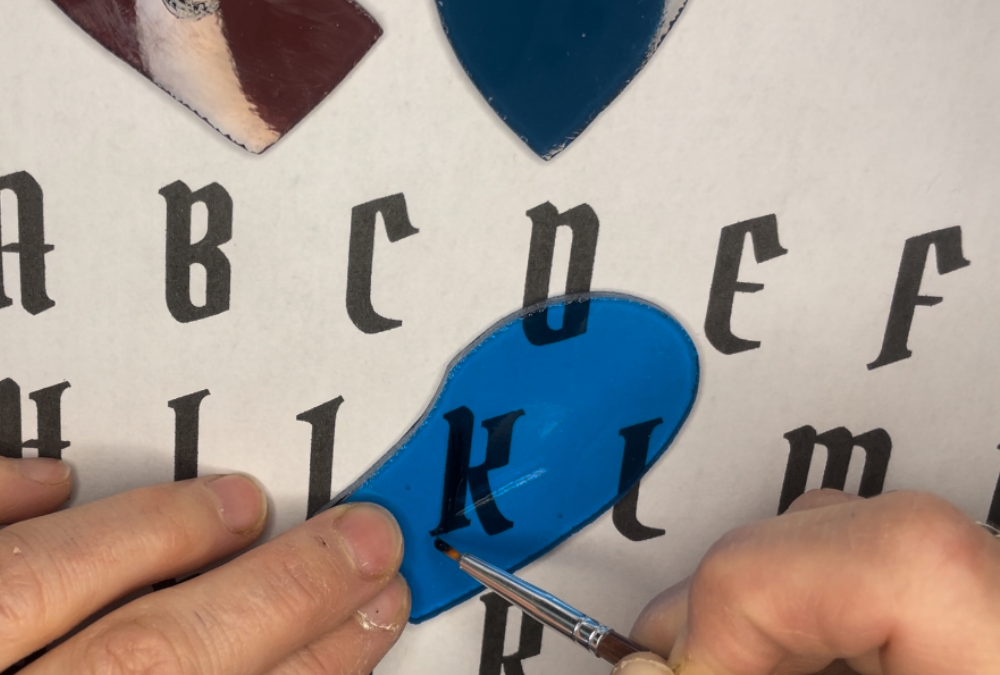
Once you know exactly where you want your letter to go, you can dip your paint brush and start tracing your letters.
Painting glass this way is a lot more difficult than painting on a material such as paper because it is very easy to smudge or paint outside of the desired area. Just take your time and paint over your template as best as you can.
When you’ve painted the entire letter, you can slide your glass away and see if and where you need to touch up.
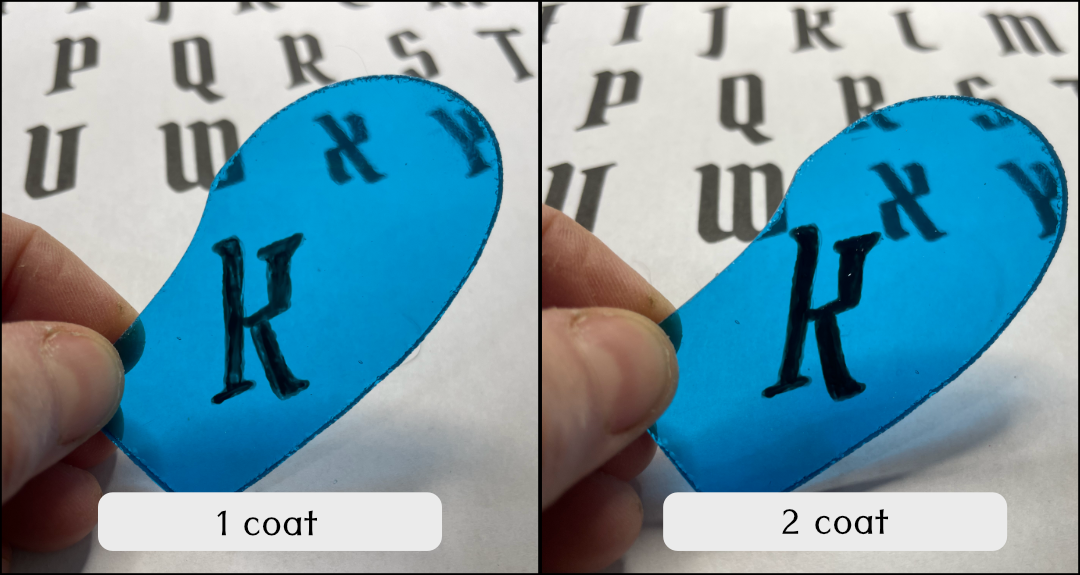
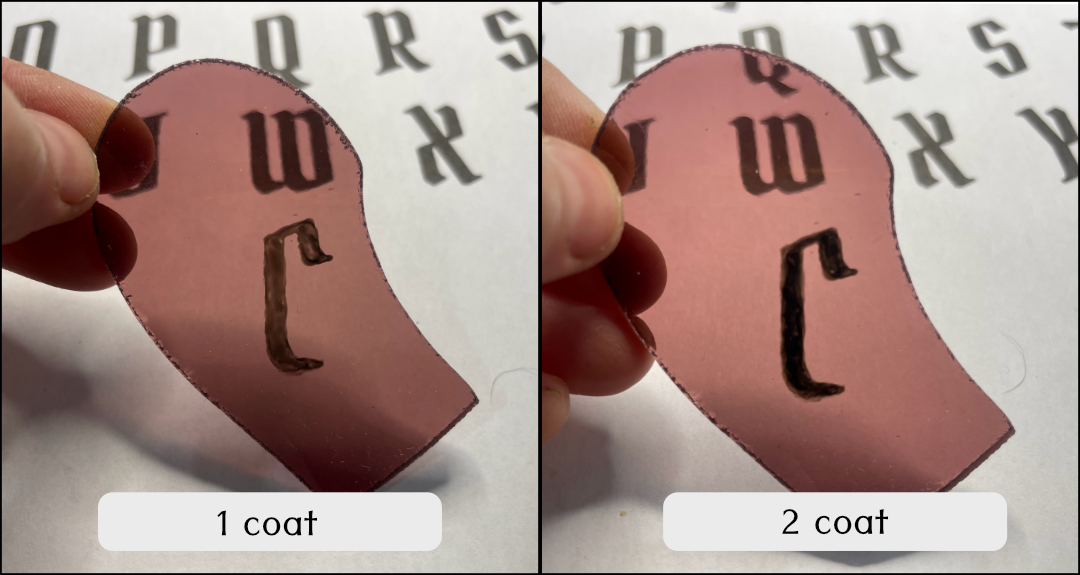
Step Four: Add a Second Coat (Optional)
Because Vitrail Glass Paint is made to be transparent, your first layer will come out very thin. I wanted my letters to be a little darker so I simply waited about 10 minutes before adding another coat on top.
You want to be sure to wait long enough so that the first layer is some-what dry and won’t smear when you go to add the second coat of paint.
You can see here how each of my letters appeared before and after the second coat.
Step Five: Bake in Oven to Cure
Once your letters are painted on as you like them, it’s time to cure the paint to the glass. To cure the paint, simply place your glass pieces in the oven. Using the “bake” setting, turn the temperature to 325 degrees and set a timer for 1 hour. Once your timer has gone off, turn off the oven but DO NOT REMOVE YOUR GLASS.
When baking glass, it is best to:
- Put the glass in the oven while it’s still cold and let it sit while the temperature gradually rises.
- Leave the glass in the oven after you are done baking so that it can gradually reduce in temperature.
This is because glass can crack when exposed to extreme temperature changes.
If you read the instructions on the Vitrail Glass Paint product wrapping, you’ll see that it says to bake at 325 degrees for 40 minutes. The reason I set my timer for 1 hour is to account for the time it takes to preheat, as well as the 40 minutes needed to bake.
One hour maybe be slight overkill, but it’s easy to remember and it isn’t going to hurt the glass at all.
Finishing Your Piece
Once your paint has been cured, you can continue with the typical stained glass process of copper foiling and soldering.
Don’t forget that you MUST USE HOBBY CAME on this project for it to work.

I hope you enjoyed this DIY, and now have a simple and easy valentines project you can make as a gift for yourself or others <3


