
A few weeks ago I set off on a mission to create my first ever project with pressed flowers in glass. Since I’ve started glass crafting, I’ve seen a lot of really pretty pieces that included pressed flowers and wanted to give it a shot. I genuinely thought it was going to be so easy. I mean, how hard can it be? You take two pieces of glass and sandwich them together with some pressed flowers. Or at least I thought…
It took me three times to get it right, and some money wasted on products that I didn’t need. With that being said, I wanted to share my experience in the hopes that it can make your pressed flower projects go that much more smoothly.
This page may include affiliate links. If you click and purchase, I may receive a small commission at no extra cost to you. As an Amazon Affiliate I earn from qualifying purchases. You can read my full disclosure here. Thank you for your support <3
Since this is a DIY and I want you to be able to follow along, I’ve created this free pressed flower glass pattern that’s perfect for making a simple project AND demonstrating how to incorporate these pressed flower elements into larger stained glass designs.

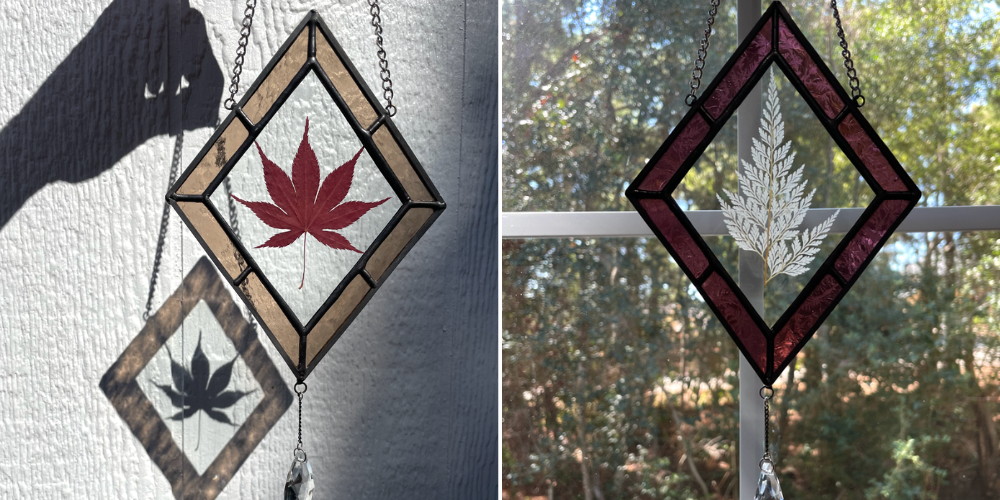
You can even do something similar to what I did and add a dangle at the bottom. If you want to create really pretty rainbow effects, I recommend these crystal pendants.
Supplies You’ll Need
For this project you will need all of your stained glass supplies, plus:
- Pack of dried pressed flowers – I used these pressed greenery leaves because I didn’t want a ton of color.
- Gorilla super glue with a brush & nozzle
- Crafting tweezers (or just regular tweezers)
- ⅜ “ Copper foil (I used black backed)
- Krylon Floral Protectant Spray (but read on before using)
- Any pair of good scissors
Pressing Flowers in Glass
For the sake of the length of this tutorial, I’m going to skip over the cutting and grinding steps. All the steps listed below are after you have already cut your glass to size, ground your edges smooth, and copper foiled your border pieces.
At this stage the only pieces of glass that should not be copper foiled are your two center pieces that will be used to press your flowers.
By the way, if you’d like to apply a lead (or hobby came) border to your piece this design is perfect for that!
OPTIONAL Step: Spray Dried Flowers With Protectant
I say optional here because after testing a couple leaves I didn’t actually end up using this stuff, HOWEVER, everywhere I look it says you should as your dried flowers may and probably will change color over time.
There’s also a lot of searches like this that are coming up in Google:
- “How do I keep my pressed flowers from turning brown”
- “Protect dried flowers from fading”
- “How to make dried flowers last longer”
So it’s obviously an issue people are running into.
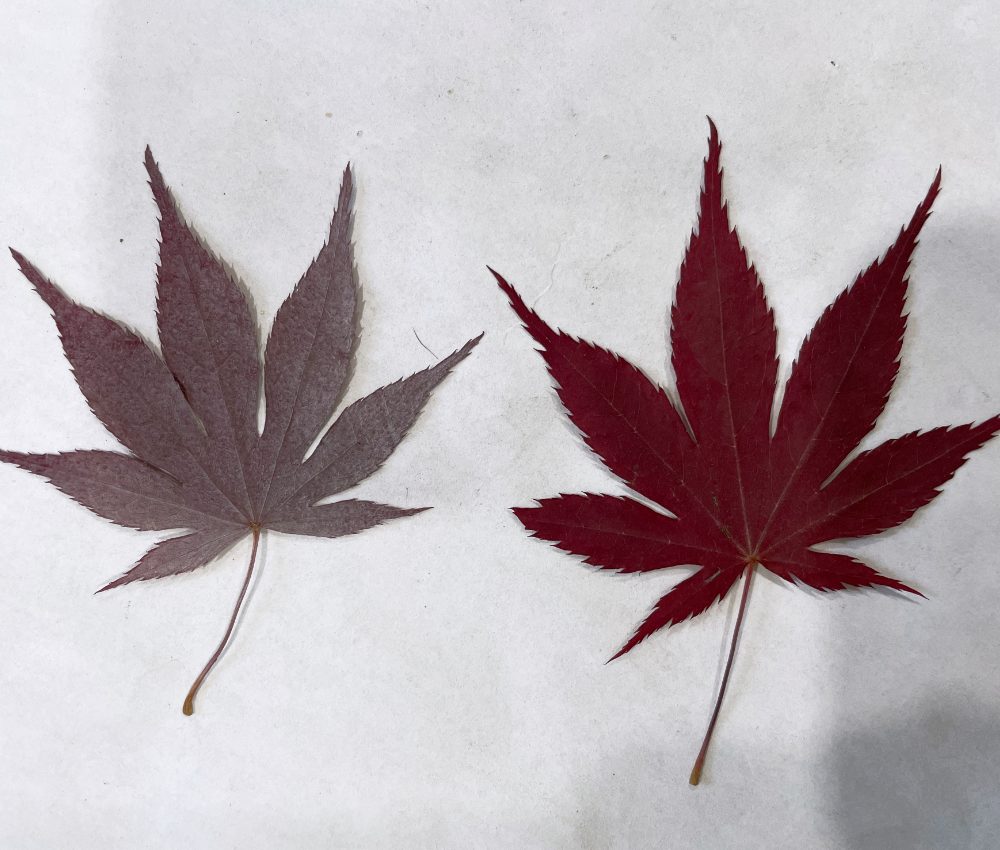
What I suggest is testing this product on one of your flowers before using it on everything you’re planning to press in your piece. Here’s a photo of what happened when I tested it on my foliage. It made it go from this vibrant red to a very dull white, brownish.
Step One: Clean Glass Really Good
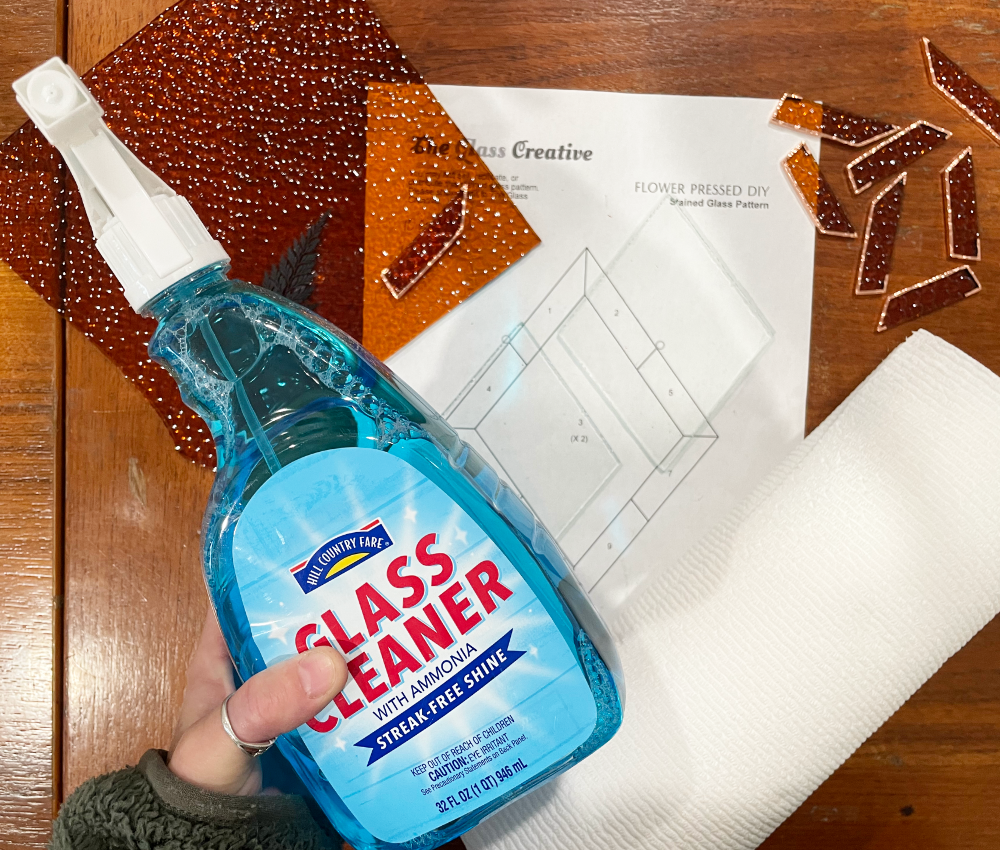
Before you press any flowers, you’ll want to make sure you clean the two pieces of glass REALLY WELL. You don’t want any fingerprints or smudges showing through. This is especially important if you’re using clear glass.
After cleaning my glass pieces I like to keep them on my paper or the paper towel to avoid them picking up any dust or dirt from my table as I work.
Step Two: Lay Out Flower Design

Before you begin securing any pressed flowers to your glass, you’ll want to lay them out how you want them. At this stage you may need to trim some flowers or stems to have the desired fit.
Be careful not to smudge the glass and leave residue and fingerprints while laying out your glass.
Step Three: Glue Flowers in Place
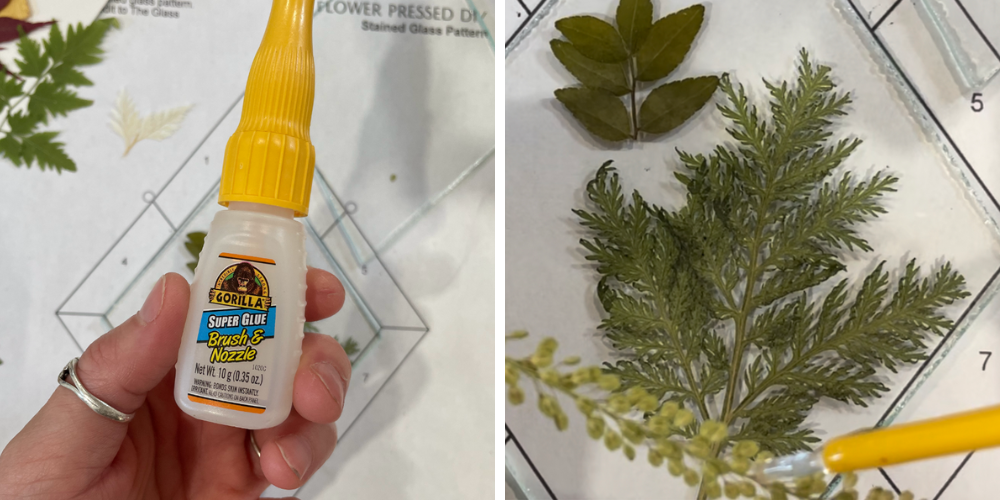
The most crucial thing to know about his step is that YOU DO NOT NEED A LOT OF GLUE. I mean – you really only need the tiniest little spec. That’s why I used this specific super glue with the brush because it made it so easy.
To make sure I didn’t over-apply I simply wiped all the excess glue off the brush before dabbing a tiny amount on my leaves.
Note: If you get glue anywhere other than on what you’re gluing down, for instance if you go to lay down the pressed flower and some glue smudges on the glass – You’ll definitely want to take your Xacto Knife and scrape that off because it will be very visible if you do not.
Step Five: Tape Glass Edges With ⅜” Copper Foil

This is where I did some experimenting and tried a few different things. The image above was one of those, so ignore that as all you need is the larger ⅜” copper tape.
I was trying to accomplish two things with my experiments:
- All my stained glass pieces have black patina so I didn’t want any copper showing through
- I was HOPING to devise a method where the glass piece could be washed under water and not allow any water between the two pieces of glass. – this didn’t work with any method.
With that said you CANNOT WASH pressed flower pieces like you can regular stained glass pieces. I’ve tried so many ways and was really hoping I’d have a method that worked, but it was to no avail.
So all you need to do is simply use ⅜” copper tape over your two pieces of glass and be sure to varnish the tape really well. Both on the edges and the sides so it has a very strong hold onto the glass.
It can be a tad tricky getting both pieces taped, but it’s essentially the same as taping a single piece of glass. Another great thing about this design is that the shape of these centerpieces make this step a lot easier than if it were say a larger, or more complex piece of glass.
Soldering Pressed Flower Piece to Border
Soldering your border pieces to your centerpiece can be a little tricky since they’re different widths, and therefore will be different heights when laid down flat.
To combat this I use my secret weapon – ol’ George Washington! Or many George Washington’s, actually…
This is a great trick to keep in your toolbelt any time you want to incorporate a pressed flower piece into your larger stained glass artwork. If you’re using standard 3mm glass to sandwich your pressed flowers (or in my case foliage) then quarters are the perfect width as they’ll line the glass up almost exactly center of your pressed flower piece.

This will give you the same solder line on both sides of the glass, instead of one being super heavy in solder and the other not.
The trickiest part about this method is applying your flux. I find that using liquid flux for these projects is easier since I can very carefully dab some flux in the areas I need to tack. Whereas the gel can tend to move the glass while applying if it’s not secured somehow.
And then simply solder as usual!
Keep in mind that if you’re adding a lead or hobby came border, you’ll need to avoid soldering all the way to the edges.
I hope you found this tutorial helpful. Please leave your project experience in the comments below. I’d love to see them!

Happy Creating 🙂


